Fraying your shorts can be a fun and easy project. Follow the simple steps and guidance contained in this article to find out the best ways to quickly fray your shorts. Before you know it, you will have a fresh new summer wardrobe without a lot of hassle.
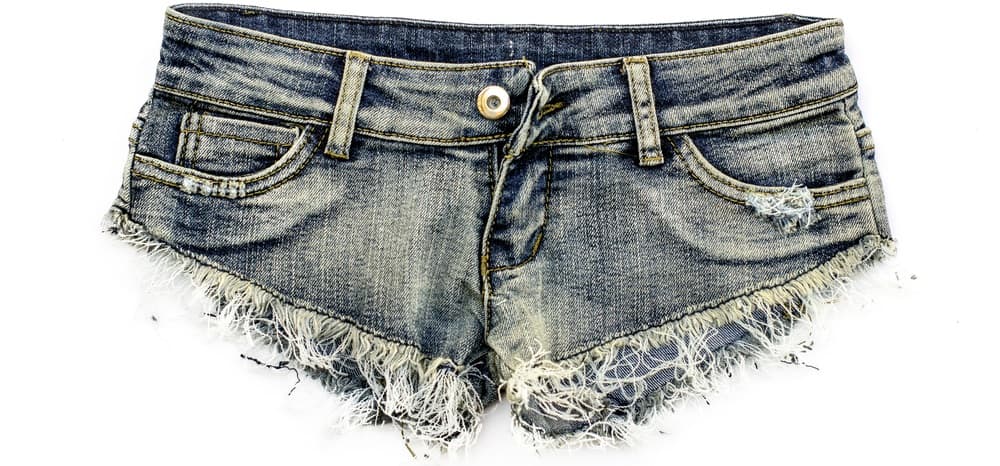
Not only are frayed shorts a cute look, but it is also a great way to breathe life back to an old pair of shorts. You can even take old jeans and cut them into shorts, and then fray them. The great thing about fraying shorts is it is simple to do and does not require many tools.
If you are interested in how to fray shorts, keep reading this article to get step-by-step instructions on how to turn your old shorts into a new and exciting piece of your summer wardrobe.
Table of Contents
Before You Start
It is critical to understand the terminology before you begin working on your shorts. You can fray, distress, or rip your shorts. Even though these words are often used interchangeably, they are different.
Ripped shorts means you have created holes or tears in the fabric. Distressing your shorts means you have made them look worn as if you have had them for years. Fraying your shorts means pulling any loose threads out of the hems or holes you created.
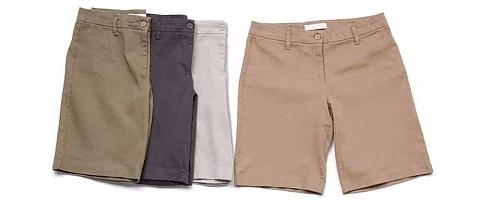
Fabric Type
You can choose to fray cotton, linen, or denim. These three materials are going to give you the best frayed look because you will be able to pull the threads out from the bottom. The most common material that is frayed is denim. You will not be able to fray materials like nylon or polyester easily.
Choose Your Tools

There are various ways that you can fray your denim shorts. The look you want will dictate the best tool for you to use. You can also use more than one tool to create your final look.
A razor is ideal for creating frays and scrapes. Sandpaper is perfect for creating an overall distressed look. A seam ripper is your go to tool for making small tears and cuts.
Tweezers will allow you to easily remove the thread from a raw hem. If you want to make cutoff shorts, you have to first cut the pant leg of your old pants.
Keep in Mind
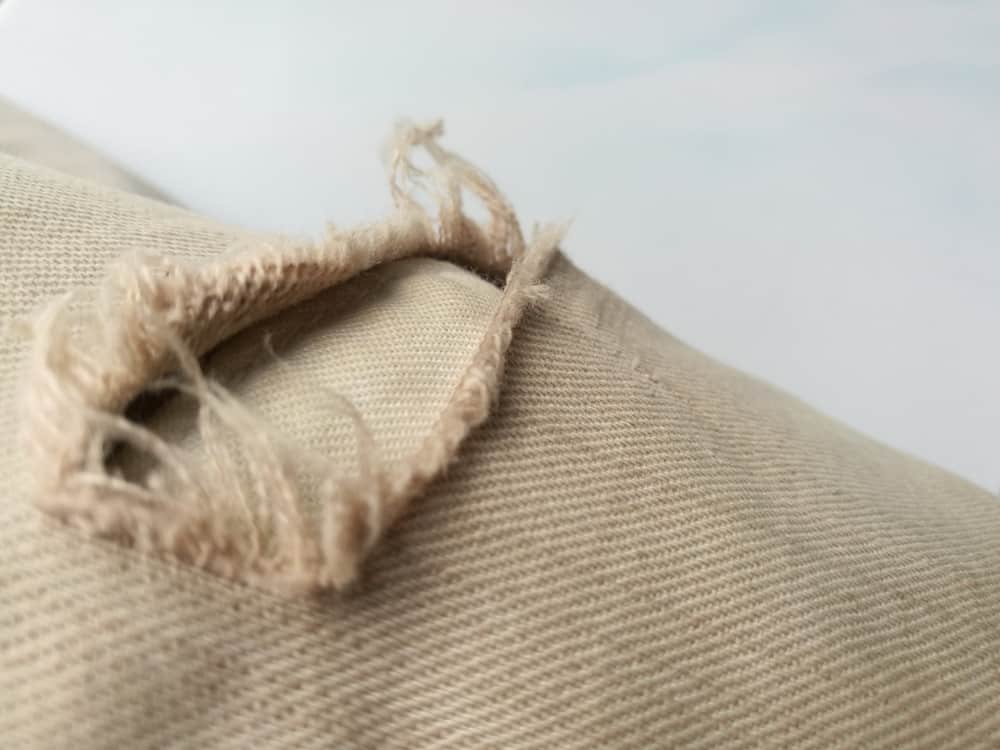
When you fray your shorts, you do not have to work only on the bottom hem. You should fray the pockets. You can also create small tears or holes in the pockets.
You can also add a distressed look to your entire pair of shorts. Distressing the entire pair of shorts will help it match the frayed edge and pockets. Wash your shorts before you start your project and after you have finished.
Make sure you read the label and wash and dry them per the instructions. Washing your shorts first will ensure that your shorts will not shrink once you fray them. After you have completed your project, putting them in the washing machine them helps to distress them further and pulls out any loose threads.
Throwing them in the dryer also helps achieve the look you desire because it helps to pull out more of the loose threads.
Choose Your Method

The Razor Method
Step 1
Make sure you lay your shorts on a flat surface. You want them as flat as you can get them because this makes them easier to work. Consider a surface like a countertop or table on which to work. While it is not necessary, you can mark the areas that you want to fray.
Step 2
Determine the area on your shorts where you want to begin. You should find a piece of cardboard and cut it to fit inside your shorts. Slide the cardboard inside your shorts to protect the bottom layer of fabric.
This way, you can use the razor without worrying about damaging the other side of the shorts. You can use a rotary mat if you have one of those. As you move to new areas on your shorts, you will move the cardboard around with you to ensure your shorts are always protected.
Step 3
Using a straight razor, make holes in the shorts. If you want small holes, use the sharp end of the razor to cut a straight line. You want to press down to ensure you make a clean cut.
Once you are finished, rub the edges of the hole with your finger to fray the threads that are loose. You can opt to use a box cutter instead of a straight razor. You can make the cuts anywhere you want.
Step 4
With a disposable razor, scrape the edges and hems of your shorts. To scrape the edges, you want to place the razor flat on your shorts and rub it back and forth quickly. Using a disposable razor scuffs the material and causes it to fray. You can use this process all over your shorts for a distressed look.
The Sandpaper Method
Step 1
Spread out your shorts on a flat surface. Marks the places you want to cut your shorts. If you want holes in your shorts, you should mark the spots with chalk.
You want to keep any holes close to the bottom so you can still wear the shorts. You want to make sure they are your desired length. When you mark the areas you want to put your holes, it prevents you from putting holes too close together.
Step 2
Using scissors, you want to make small cuts into your shorts. Be sure to cut in a straight line because this is going to cut open your shorts. You can cut a square to create a larger hole.
Step 3
If you want your shorts to look and feel softer, sandpaper is just the thing to do it. Rub the sandpaper firmly all over your shorts. You should check every few minutes or so to see if you like the look and feel.
You can keep going until you are satisfied and then move on to another section. The coarser your sandpaper means, the easier it will be to put holes in your shorts. If you do not want holes, you finer sandpaper.
Step 4
Use the sandpaper on the holes you cut in step 2. You can rub it firmly over the holes to make the loose threads pop. You must be careful because you are taking a chance of making the holes bigger. As with the above step, the coarser the sandpaper is, the bigger the holes will get.
The Tweezers or Seam Ripper Method
Step 1
If this is the method you choose, you want to work carefully and in small sections. When you cut holes in your shorts, they will fray over time. Using tweezers or a seam ripper will fray them faster, but you are also wearing away the shorts, so work carefully.
Step 2
You need to use scissors or pinking shears first to cut the holes in your shorts. Using scissors will open up the material and give you a thread you can pull. Make a small cut with the scissors in the spot where you want them frayed. If you want a frayed hem, you can cut off the bottom of the hem to expose the threads.
Step 3
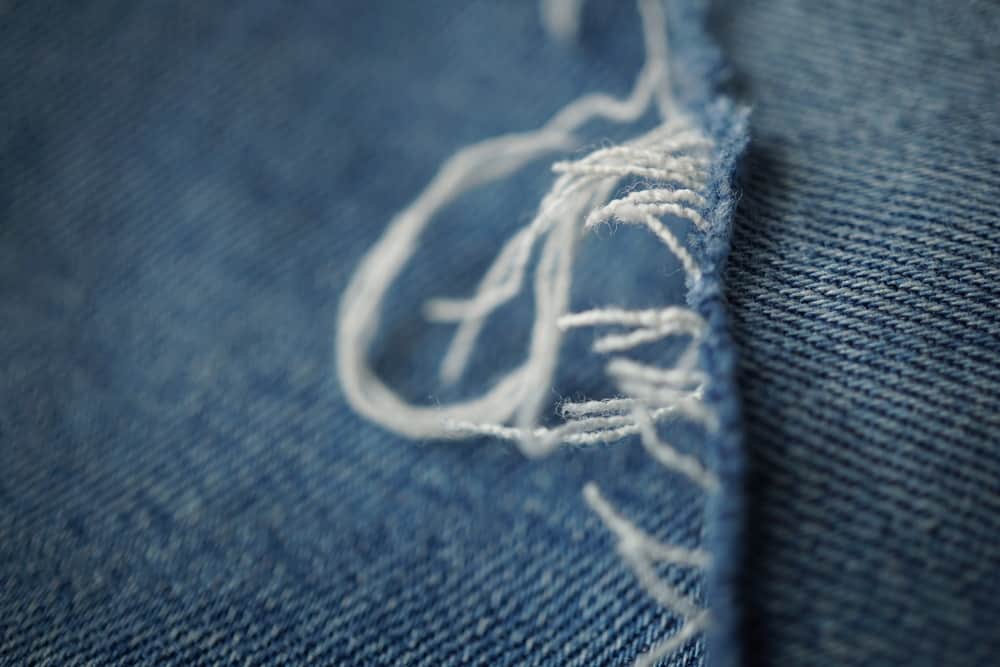
Now you can use your seam ripper or tweezers to pick at the loose threads anywhere you see them on your shorts. When you are working with denim, the blue thread is lighter than the outside of the material, making them much easier to see. With other material, you may have to pull at the sections to fray the cuts you made.
You can pull as many threads that you desire. When you wash them, the areas where you pulled the threads will become more frayed. When you are finished, your shorts will have slightly frayed spots with threads sticking out. The slightly frayed jeans will become more frayed every time you wash them.